
Tips & Tricks for Framing Wooden Puzzles
Share
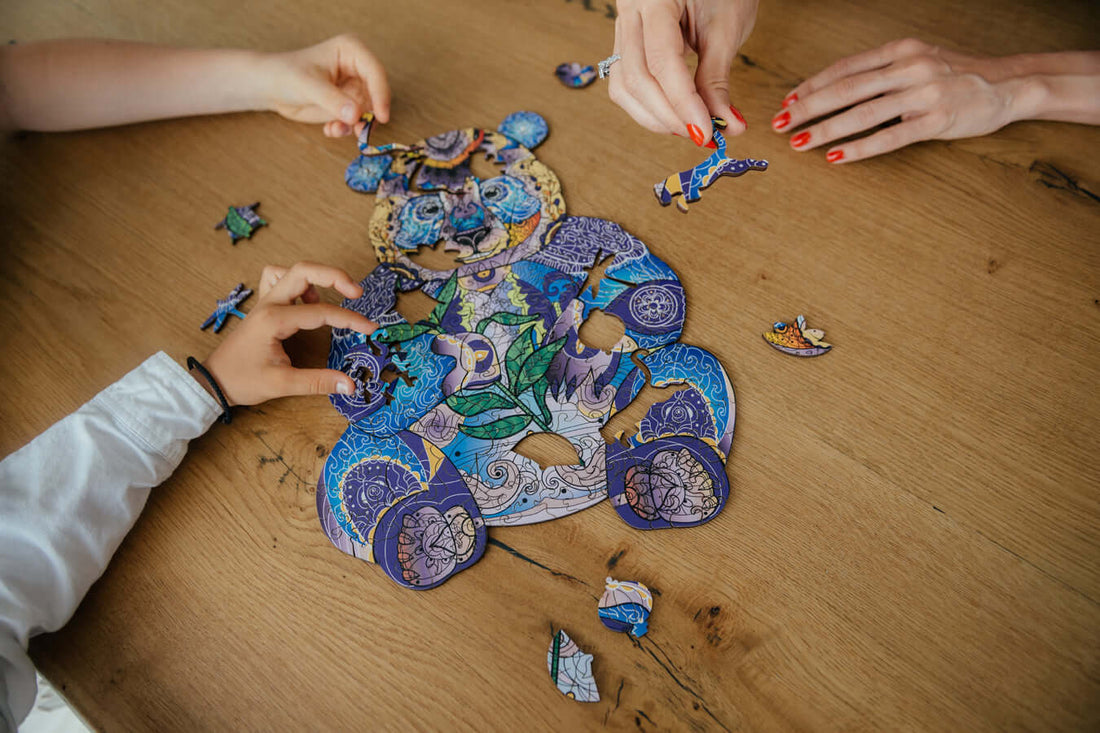
Traditional wooden jigsaw puzzles have become a popular hobby for many people. A great hobby, regardless of whether it is done alone or with others, may be enjoyed by everyone in the family.
Make sure that you do some research before you buy one of the best wooden puzzle designs since there are so many options out there that you can get the most out of it. New and secondhand puzzles may be found at great costs, making it easy to add to your collection or to start a new fun activity with the kids.
Some people feel that framing wooden jigsaw puzzles is more difficult than it really is. As long as you've got the right tools and follow these instructions, you'll be done with your wooden puzzle in no time at all, and you may even become an expert.
Tips of Framing Wooden Puzzles:
You can't beat the sense of accomplishment that comes with finishing a puzzle and taking a step back to appreciate your work. Even if you put it off for a few days, having to disassemble the jigsaw puzzle and put it back in its box can be a sad experience.
The best method to show off your hard work is by framing it and displaying it on your wall. Learn how to make your puzzle into a single, seamless canvas by following the tips of framing wooden puzzles in the guide below:
-
Simplify the puzzle
-
Dimension
A precise measurement of the frame you need to create for your jigsaw puzzle can only be obtained by taking measurements of the puzzle's sides as well as its overall dimensions. You may either buy a frame made expressly for the kind of puzzle you're working on, or build your own frame from the ground up with the materials you already have.
-
Put the Jigsaw Puzzle Back Together With Glue
Keep the parts in place and move the puzzle as a single unit by gluing it together. You can use transparent glue and a straight edge like a piece of cardboard and puzzle glue, which often comes with a spreader tool.
Brushes are not suggested since they might leave behind brush strokes. Don't overdo it with the adhesive application. Over-gluing the puzzle might cause the pieces to start peeling and curling.
-
Allow it to Air-Dry
Before moving the puzzle, it is crucial to allow it to dry thoroughly. There is a risk of damaging or leaving fingerprints behind if you touch them too quickly.
-
Correct the Curls
Do not be alarmed if the puzzle begins to curl. Apply glue to the back of the puzzle when the front has dried completely. Make a point of grabbing pieces in the areas where you see the puzzle is curling. Before going on to the following step, wait until the back is totally dry.
-
Put It on the Wall
Once the adhesive has dried fully, it's time to install the puzzle. It's up to you. Wax paper or foam may be used. Your puzzle should be somewhat smaller than the mounting. The goal is to have all the parts connected to it, but you don't want the item itself to be visible.
It is necessary to carefully turn the puzzle on its back in order to install it. To finish the puzzle, apply glue to the back and place the mounting so that it is centered on the back. The puzzle and mounting may need to be weighed down while it dries.
-
Frame it
Finding the proper frame f is just as important as fitting the puzzle inside the frame. Buying a frame from a big-box retailer may be an option, but the variety and quality may be lacking. Check out the thickness of the paper you're using before you buy a pre-made frame to be sure it'll fit a jigsaw puzzle with foam backing.
In addition to having your puzzle framed, you may want to make sure that it will be protected from moisture and sunlight for as long as possible. Your puzzle may be protected by a frame with UV-protective glass and matting to prevent it from clinging to the glass.
Conclusion
You have now completed all of the steps indicated above and allowed your puzzle to properly dry out. The easy part is just around the corner. You may skip this stage entirely if you purchased a frame that is suitable with the size and thickness of your finished puzzle before you started.
Your children's artwork puzzles may be shown in the family house using the simple step-by-step method that was provided above if you follow it. If you follow the same methods, you may wrap it up as a gift for a wonderful handcrafted present to a loved one or for birthdays and other events.